
The Sandwich Sealer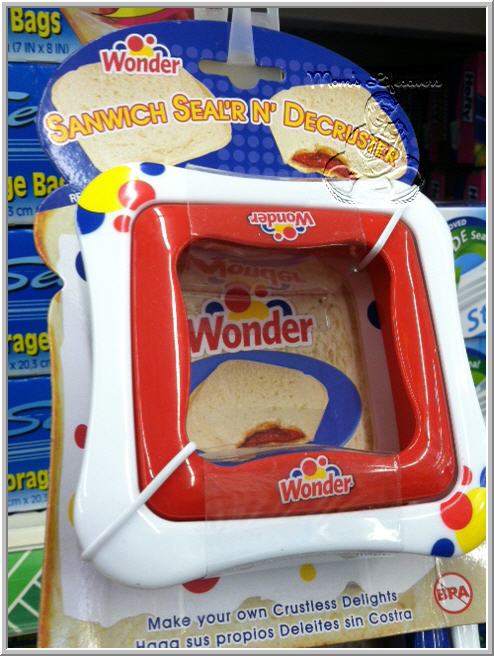 Make crust-less, sealed sandwiches – the kids love these! TIP – These make great ‘pocket’ sandwiches for the beach & picnics!
OK – I actually like the crust and hope that one day my kids will too but for now this little gadget makes a great filled sandwich – and don’t tell them but there is a little crust still left on and they eat it!
Step 1 – Super simple – add your fillings to the bread.
Step 2 – Make a sandwich. Put the sealer on the top of the sandwich.
Step 3 – Push the outer white part down – this cuts the crust.
Step 4 – Next seal it with the red inner frame
Step 5 – Remove the sealer and you have a sealed pocket sandwich!
 |
| Step 1 |
 |
|
| Step 2 |
 |
| Step 3 |
 |
| Step 4 |
 |
| Step 5 |
 |
| A Perfectly Sealed Sandwich! |
TIP – The sandwich sealer I have I got at a home goods store – I have even seen them at the Dollar Tree and on Amazon – make sure your has a No BPA symbol!


Leave a Reply