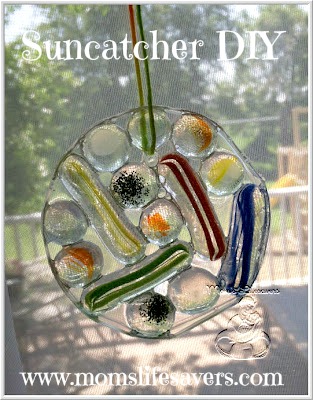
Our Suncatcher DIY makes a great gift!

Suncatcher DIY Mom’s Lifesavers
This simple DIY sun catcher craft comes together quickly and with little to no clean-up.
The hardest part of this craft is waiting for the glue to dry – but be patient the results are amazing. With so many seasonal and colored glass and plastic gems out there the options on this craft are endless. They can be enjoyed year round and make great handmade gifts for the kids to give.
With just a few supplies you can make one too.
Supplies
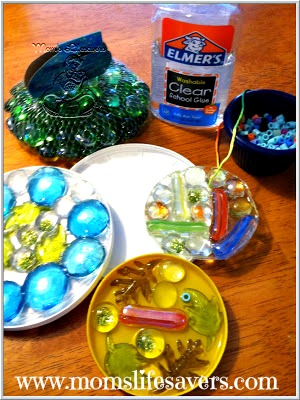
- Plastic cover from a container- yogurt, chips, deli – any size will work
- Glass or plastic gem stones
- A fuse or pony bead (we used a Perler bead – for hanging)
- Elmer’s Washable Clear School Glue
Let’s Get Started
- Place the gems in the cover that you have selected – arrange anyway you like – once you have the design the way you like it, insert a small bead to the design, this will make it easy to hang once it is dry. (Note – the bead can be popped out so the color doesn’t matter)
- Next step – cover the entire project with clear glue.
- Let the project dry completely – this could take up to 3 days depending on the size of the sun catcher and the amount of glue used.
- We have made a video that shows you step by step ‘how-to’ – you can see it on our Mom’s Lifesaver’s Channel:
TIP – Place it in a sunny window or near a heater depending on the season.
TIP – After day 2 we usually pull the sun catcher out of the ‘mold’ and flip it to dry the other side.


Leave a Reply