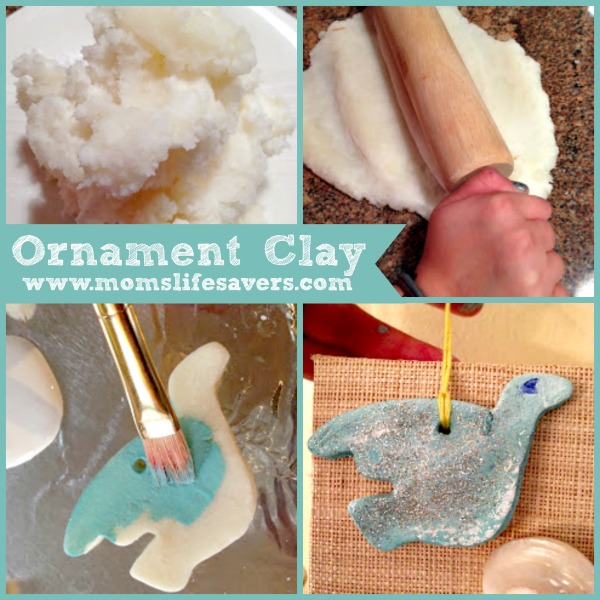
Ornament Clay Recipe

Making ornaments is a tradition in our house. The girls love creating their shapes and painting them and often times these creations are given as gifts!
Here is a great recipe for ornament clay for you to try! This is an old recipe I had and wanted to share with you in this homemade clay DIY tutorial.
Making your own ornaments is also a great project to do with your kids. It’s easy and an inexpensive way to get your kids to create ornaments for family and friends this holiday season.
What you need
- 1 Cup cornstarch
- 1 Cup baking soda
- 1 1/4 Cups cold water
- saucepan and spoon
What to do
- Mix together the ingredients in a saucepan.
- Put saucepan over medium heat.
- Stirring constantly (yes, don’t take your eyes off of this!).
- It’s done when the clay is thick and resembles mash potatoes!
- Cool on a plate until you can work it with your hands.
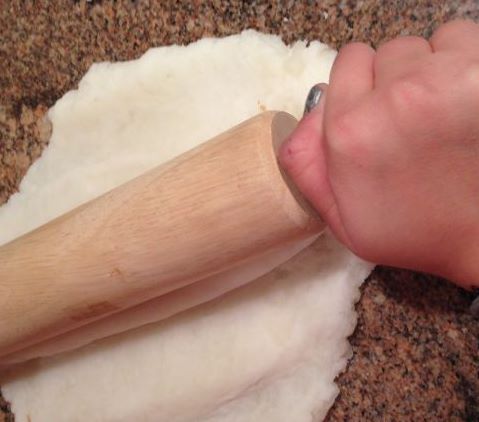
- Roll, cut or shape as you wish.
- Let dry for about 2 to 3 days.
- Paint as you wish.
Ornament Tips
- Be sure to add a hole to the creation before it dries.
- Palm sized ornaments worked best, you will have some cracking if it’s anything larger than your hand.
- These ornaments will be very hard after drying, but can be broken if dropped to the floor. Handle with care!


Leave a Reply