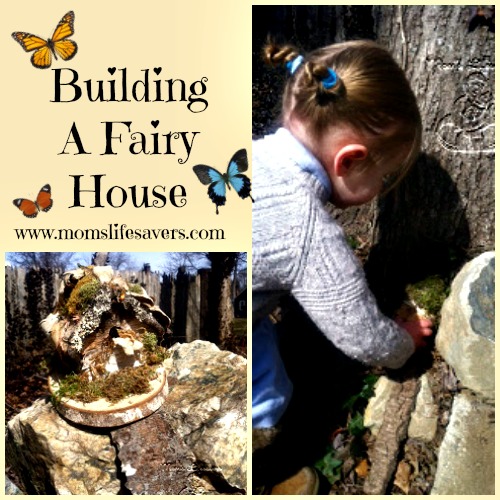
Building a Fairy House
A wonderful activity the whole family can enjoy!

Building a Fairy House Mom’s Lifesavers
My sister has the green thumb in the family – over school vacation week she will have all the kids in the neighborhood building fairy houses for their rock and flower gardens.
Over the summer months the kids will visit with their creations, make ‘home improvements’ and ‘additions’ and let their imaginations take them on a fairy adventure through their neighborhood.

Building a Fairy House Mom’s Lifesavers
You too can welcome Spring by building a fairy house with just a few supplies and a little imagination.
Start with a Base
We started by purchasing a wooden base. We have found that inexpensive wooden bird houses from your local craft store make a great base and help the kids get started giving the house a basic shape to start working from.
Decorations and Adhesive
- Aleene’s Tacky Glue, or thick white glue that will adhere to wood and dry clear – we let the kids load up the glue, it works very well and it’s thick consistency holds even heavier objects (like rocks and shells) in place.
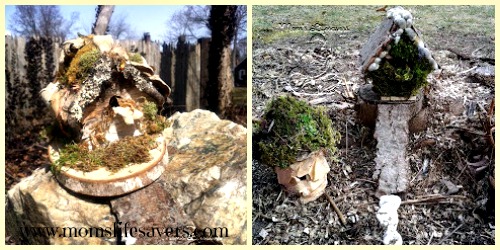
- Mosses, bark, twigs, small stones, dried leaves, acorns, mulch, mini pinecones and even feathers were collected in and around the yard.
- Looking for a beach cottage for your fairy – try collecting shells, sand and driftwood to add to your fairy house.
Getting Your Fairy House Move In Ready
- Prepare your work area, outside is great but if temperature and weather isn’t working in your favor, a plastic tablecloth or newspaper makes a great work surface and clean up easy.
- Help the kids prepare by going on a nature collection in the yard – any little pieces that they find can be incorporated.
- When you are ready to start decorating, apply a layer of glue to the wooden base, one surface at a time and add your treasures.
- Let everything dry overnight and you’re fairy house will be move in ready once dry.
- Place your fairy house outside and add a walkway, rock picnic table, or even their own mini garden.


Leave a Reply