Thanksgiving Tree Tutorial
Crafting with Kids – DIY
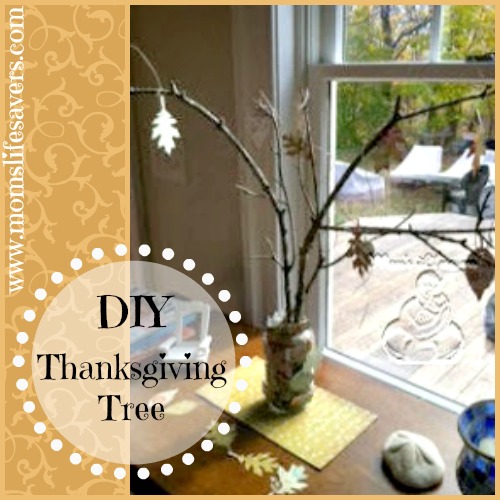
This family tree of thanks comes together in minutes and is a perfect decoration to welcome Thanksgiving guests.
The ‘tree’ uses things you have around your home and yard and makes for a fun and family friendly activity that the entire family can participate in. – now that is something to be thankful for!
Here is what you need:
- Sticks with ‘branches’ off of them – perfect for hanging paper tags from
- Rocks – small rocks make for a great counter weight for the tree branches when placed in a container
- Container – we used a sauce jar that was in the recycle bin, a coffee tin (you can cover it with seasonal paper) or other container
- Leaves (to trace)
- Scissors (to cut out leaves from paper)
- Scrapbook, construction or colored paper
- Hole punch
- Twine, ribbon or string for hanging the leaves
- Pen, pencil, markers – anything will really do for writing a Thanksgiving message
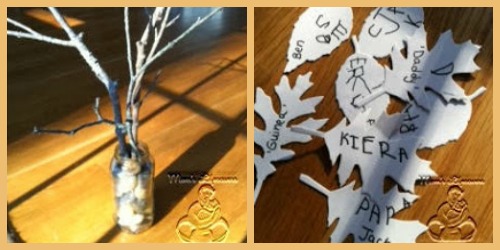
Take the family outside to collect a few ‘branch-y’ sticks and gather a few rocks – combine these in a glass jar – we used a sauce jar that was in our recycling bin – and you have the base of your Thanksgiving Tree!
Gather some paper – we used printed scrapbook paper in fall colors and used the bright white back to write our family members on.
You can cut out leaf shapes like we did, trace leaves from your yard and cut them out of paper or even purchase leaf paper cutouts at your craft or dollar store. We included names of family members and pets!
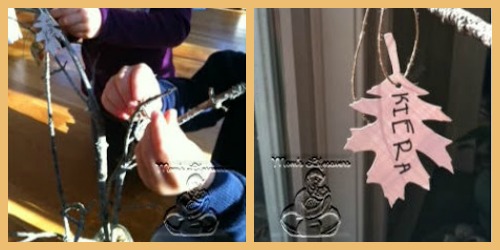
Start hanging your leaves! We used a small hole punch and some thin twine to string each leaf and hang them on the branches
TIP – Cut our extra leaves and string and put them in a small jar next to the tree – when guests come over they can add leaves to your tree as well!
This beautiful tree is a perfect activity for the whole family and a great conversation starter with children on being thankful – we had such a beautiful time making ours and hope you do to!


Leave a Reply